Featured Portraits
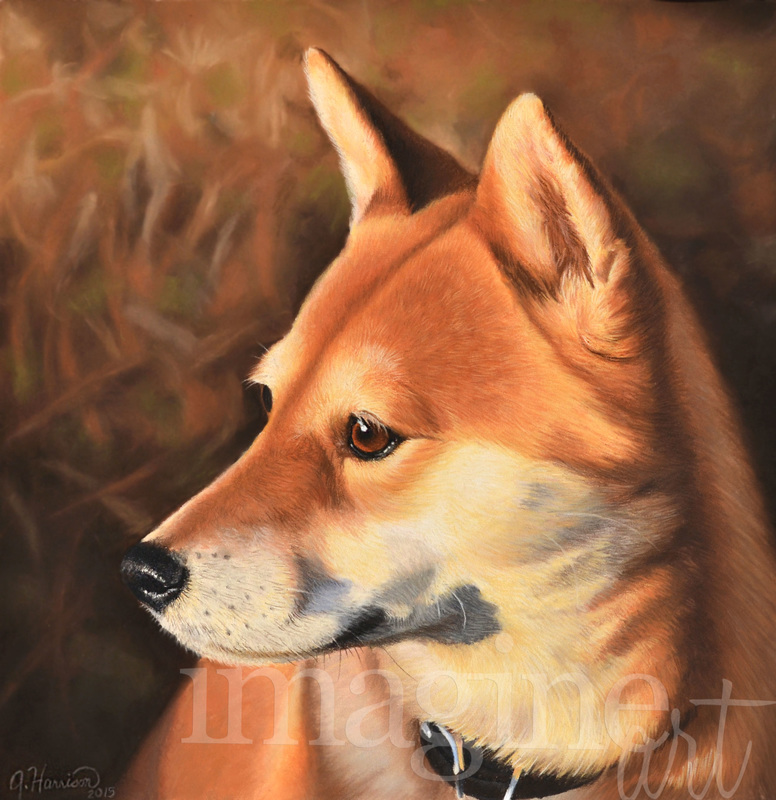
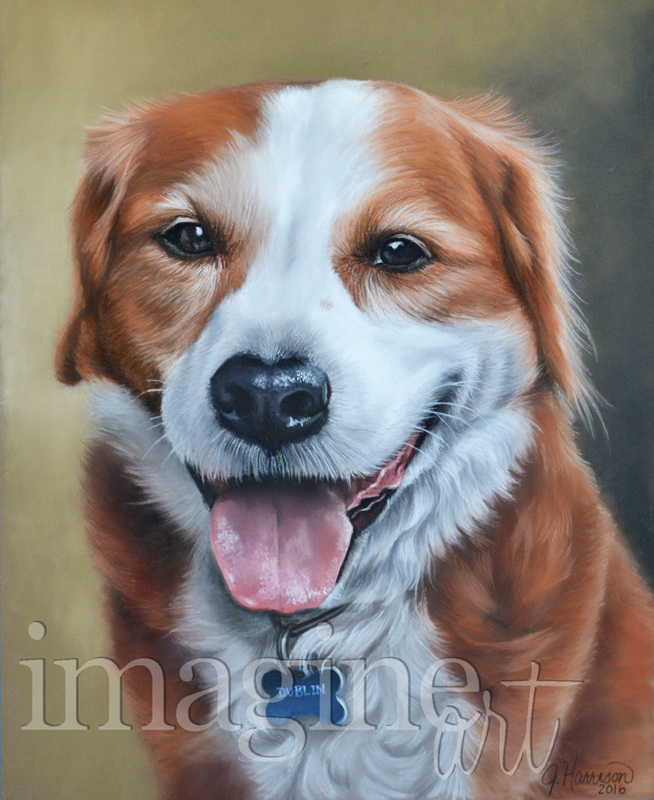
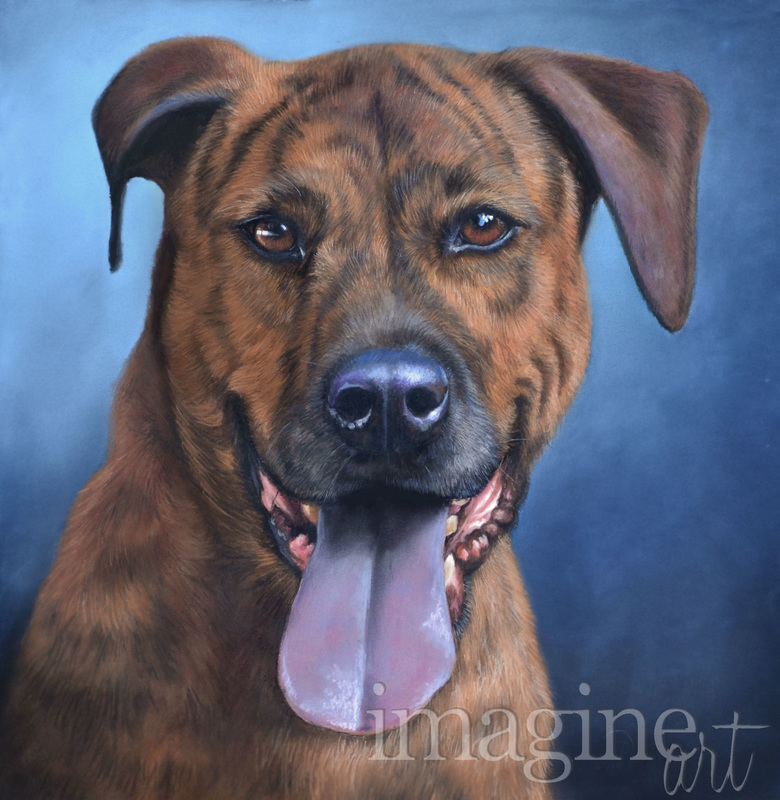
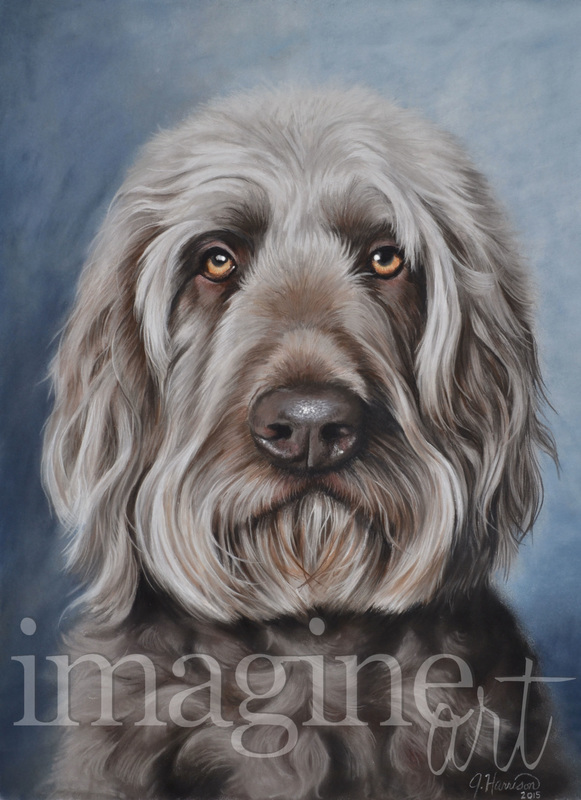
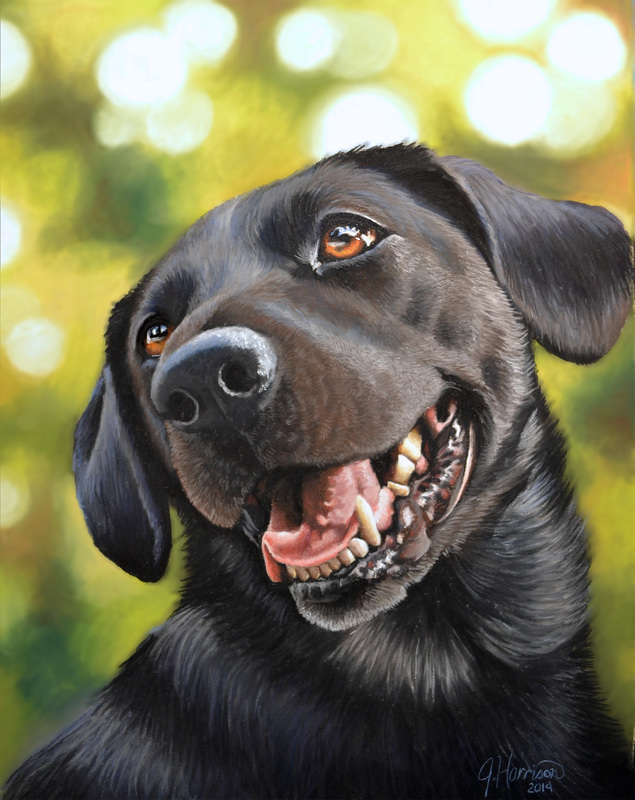
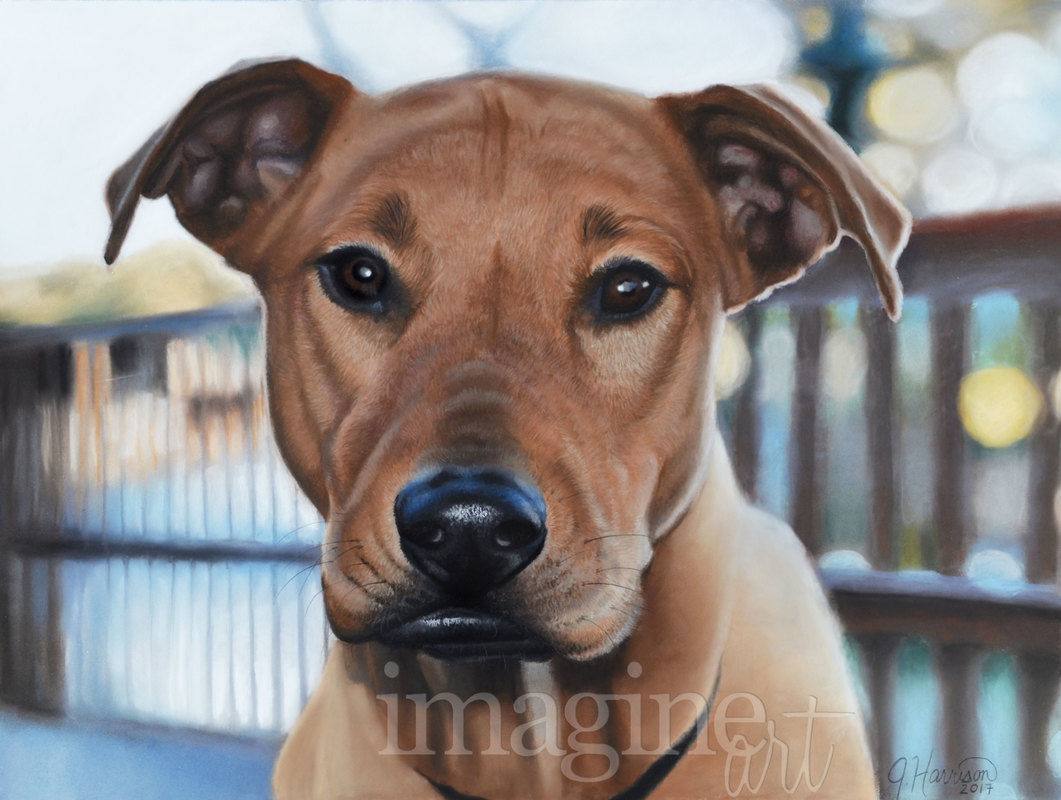
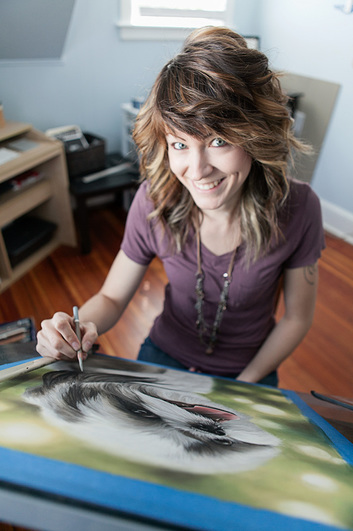
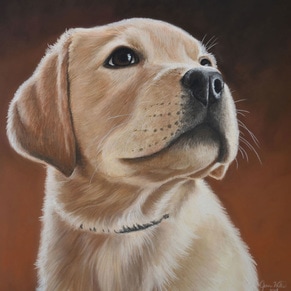
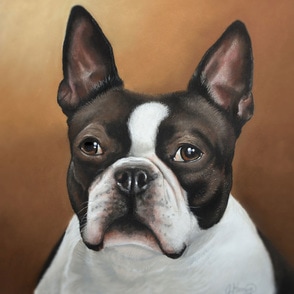
"Pet portraits by Jenna Harrison capture your pet's true personality with accuracy and detail.
Her ability to capture expression and likeness is unsurpassed. "
Each and every portrait is given a beautiful spirit; a single moment frozen in time for you to cherish.
Every custom painting is signed by Jenna herself and is guaranteed to become a conversation piece in your home.
Every custom painting is signed by Jenna herself and is guaranteed to become a conversation piece in your home.
From the Blog
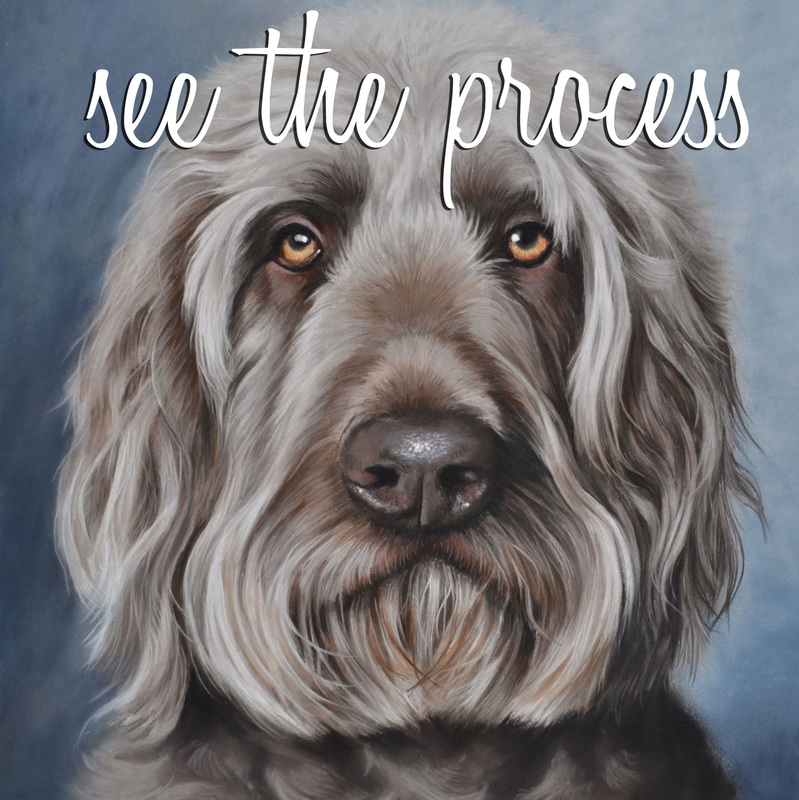
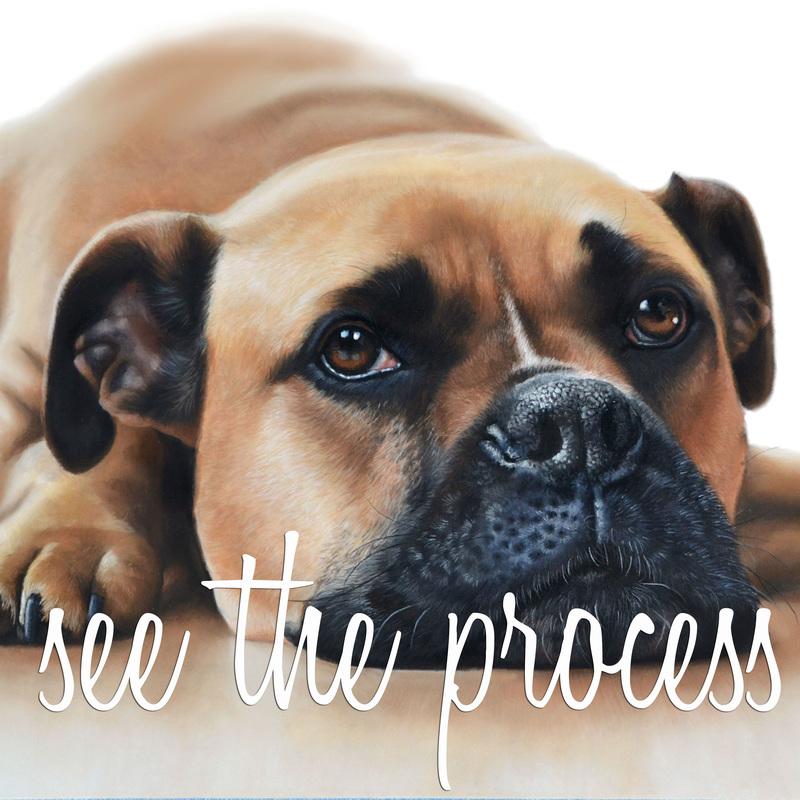
Step-by-Step
|
Step-by-Step
|
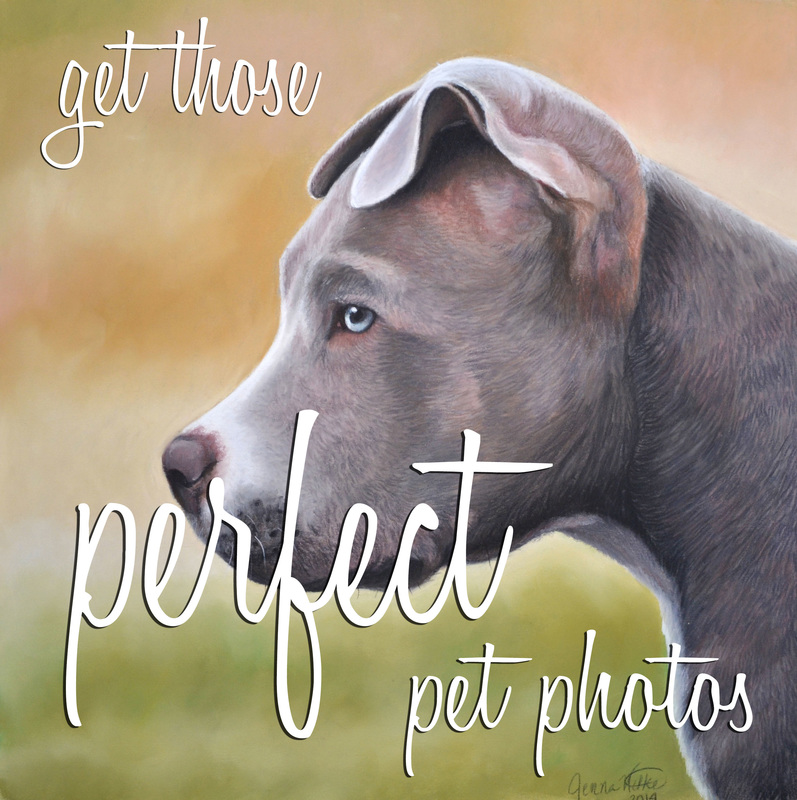
Best Photos for Portraits
|
Our pets are more than just cute cuddly companions we share our homes with - they are loyal family members who love us unconditionally.
Celebrate them with a custom pet portrait painting from Imagine Art!
Celebrate them with a custom pet portrait painting from Imagine Art!
Pet Portrait Gallery
|
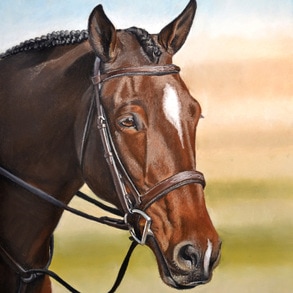
Horse Portrait Gallery
|
Shop
|